
Step 1: Preparing the Sponge-Yeasted Starter
- 70 g Water
- 115 g Bread flour
- 11 g Dry instant yeast or 27.5 g fresh yeast
- 10 g Granulated sugar
Scale the ingredients precisely for the sponge-yeasted starter dough.
Calculate and adjust the temperature of the water to the required base temperature of 62˚C.
Combine the flour, water, yeast, and sugar in a stand mixer bowl. Mix the ingredients on low speed for about 3 minutes using the hook attachment. Scrape the bowl. Mix for another 2 minutes, or until there are no lumps.
Transfer the sponge dough to a bowl. Cover it with plastic wrap and ensure it does not touch the top of the dough.
Allow it to ferment for 1 hour.
Step 2: Mixing the Final Dough
- 365 g Water
- 470 g Bread flour
- 120 g Whole wheat flour or bread flour
- 206 g Sponge-yeasted starter, prepared
- 35 g Olive oil or vegetable oil
- 7 g Fine sea salt or fine table salt
- 150 g Bread flour for dusting
Scale the ingredients precisely and bring them to room temperature.
Calculate and adjust the temperature of the water to the required base temperature of 62˚C.
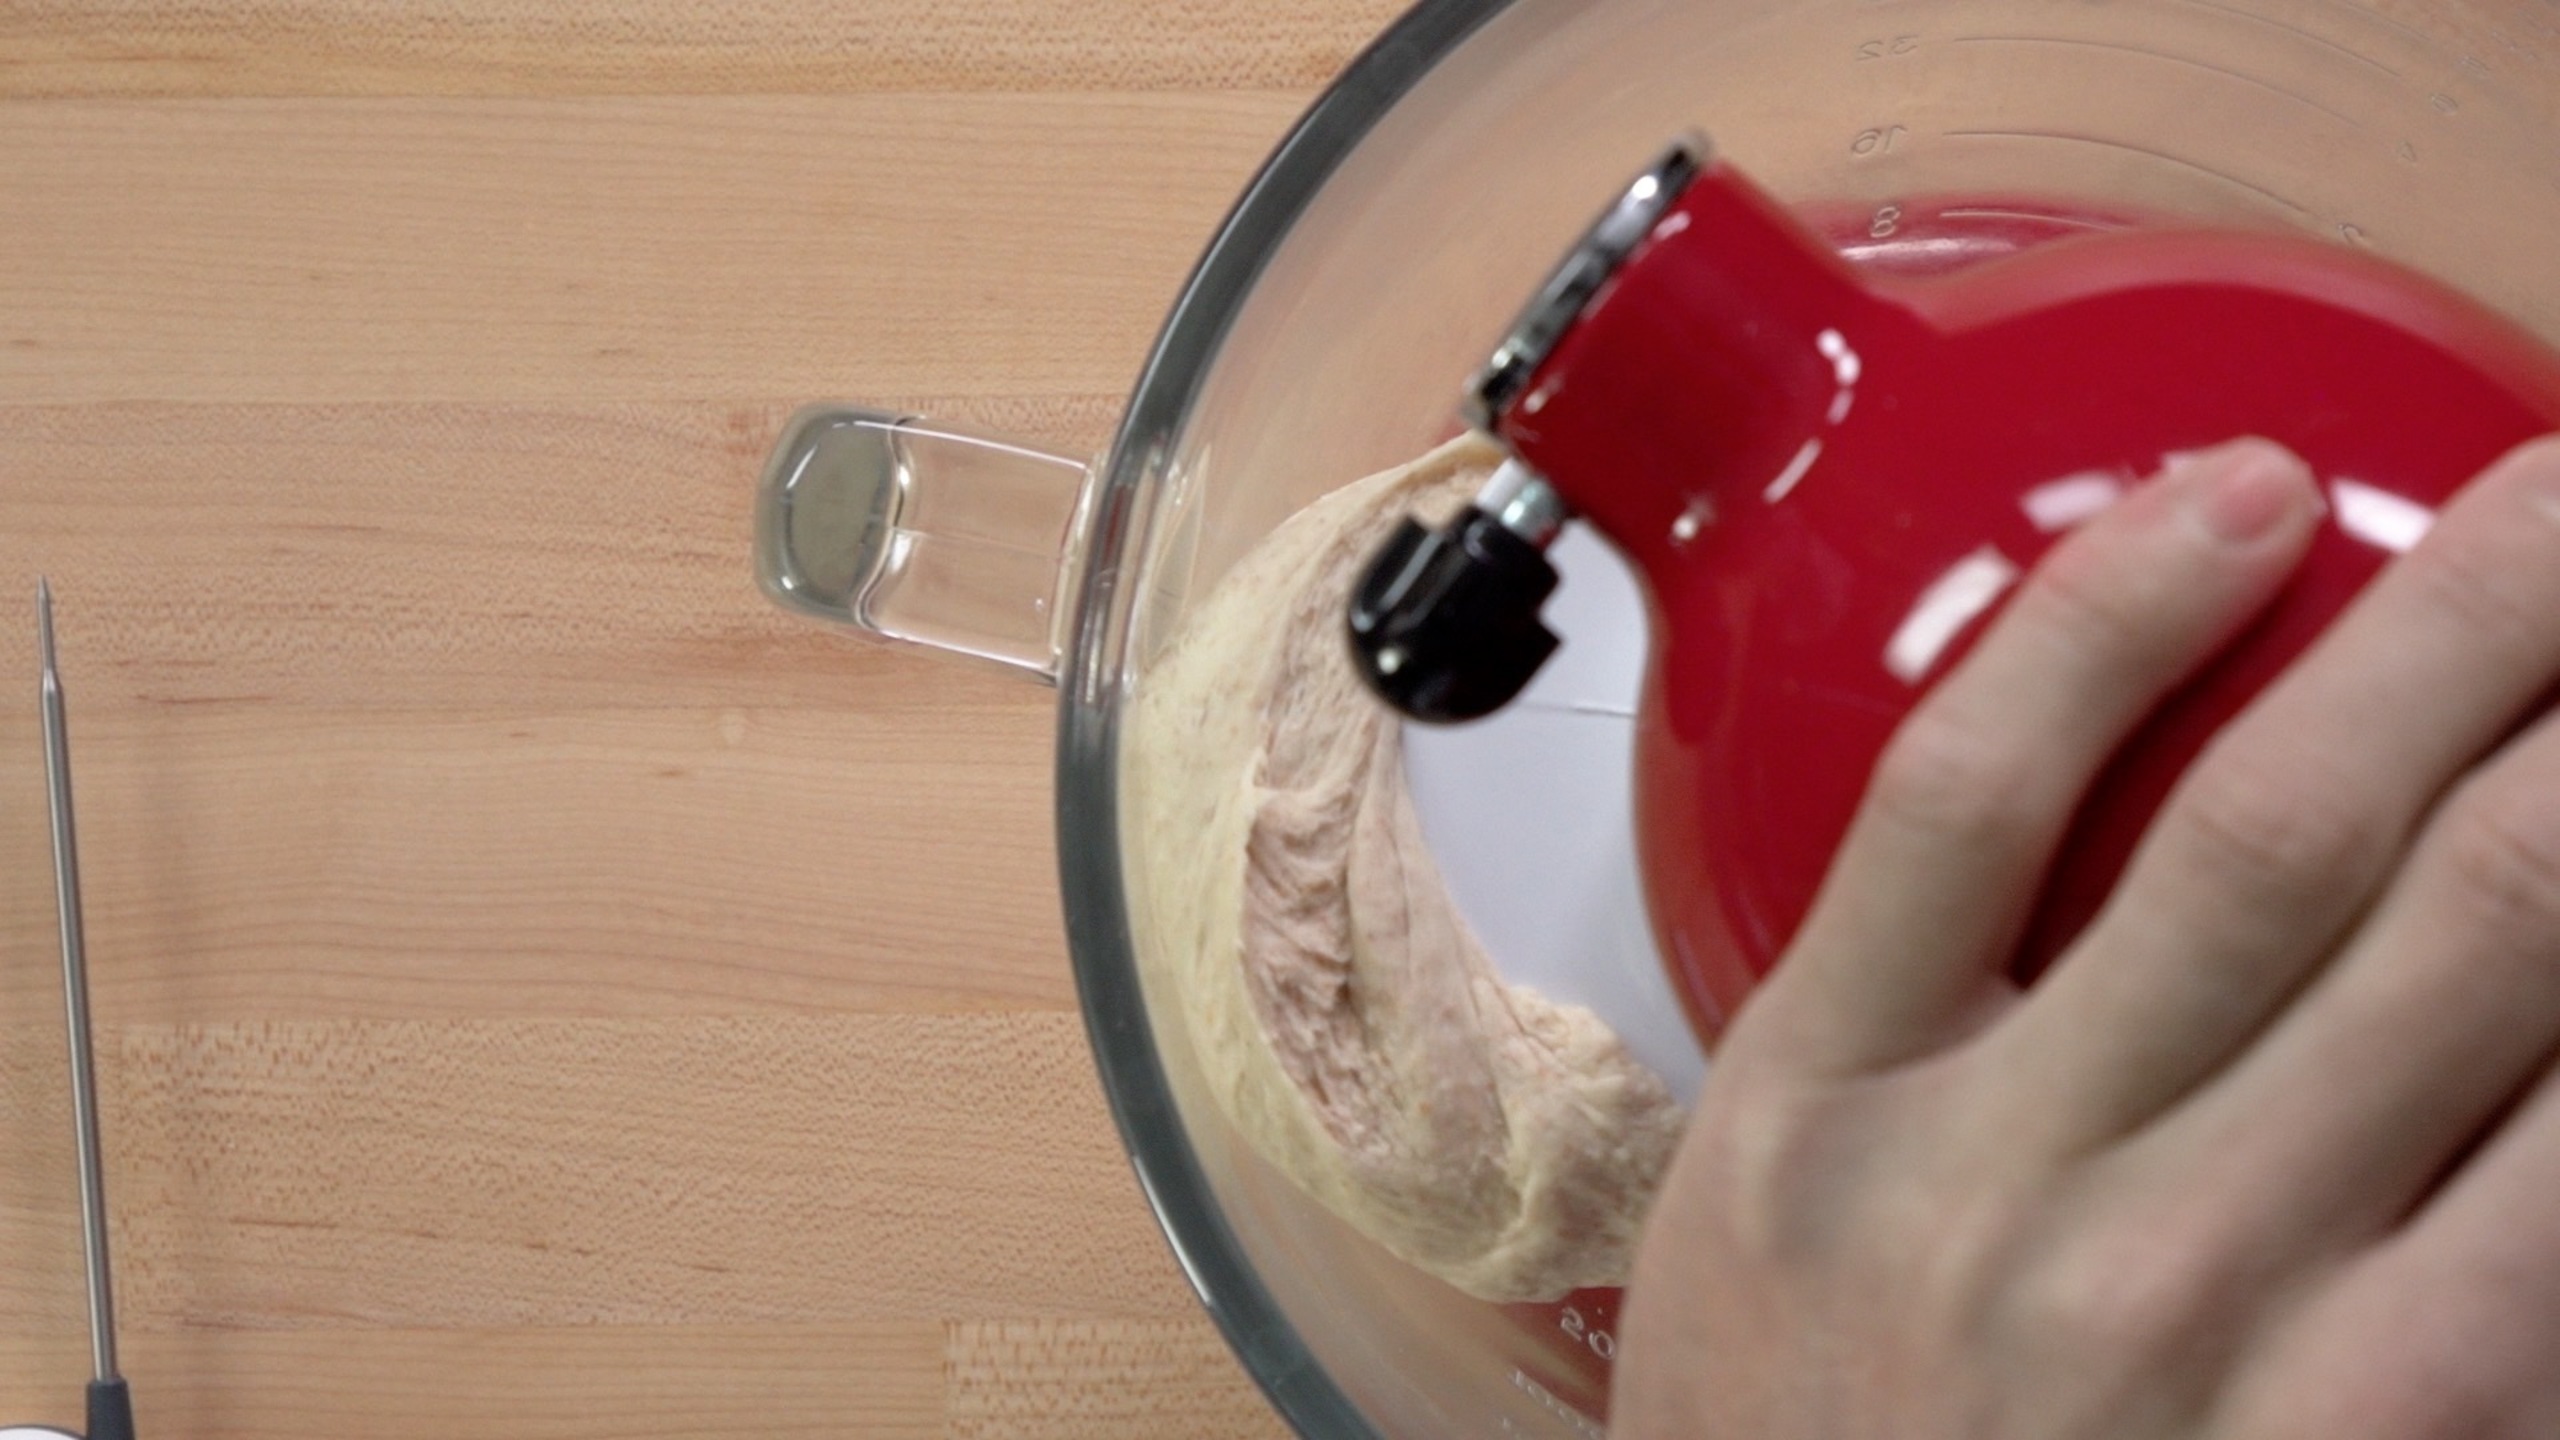
Now prepare the final dough. Combine the bread and whole wheat flours, prepared sponge, olive oil, salt, and water in a stand mixer bowl.
Mix on low speed for 3 minutes using the hook attachment. Scrape the hook and bowl. Mix for 2 more minutes. Increase to medium speed for at least 10 minutes. The final temperature of the dough should be 73-77˚F (23-25˚C).
Test the gluten window.
Dust the top of the dough. Remove it and round it into a ball. Place into a bowl and cover. Allow it to rest for 1 hour, 30 minutes at room temperature.
Step 3: Rolling & Proofing the Dough
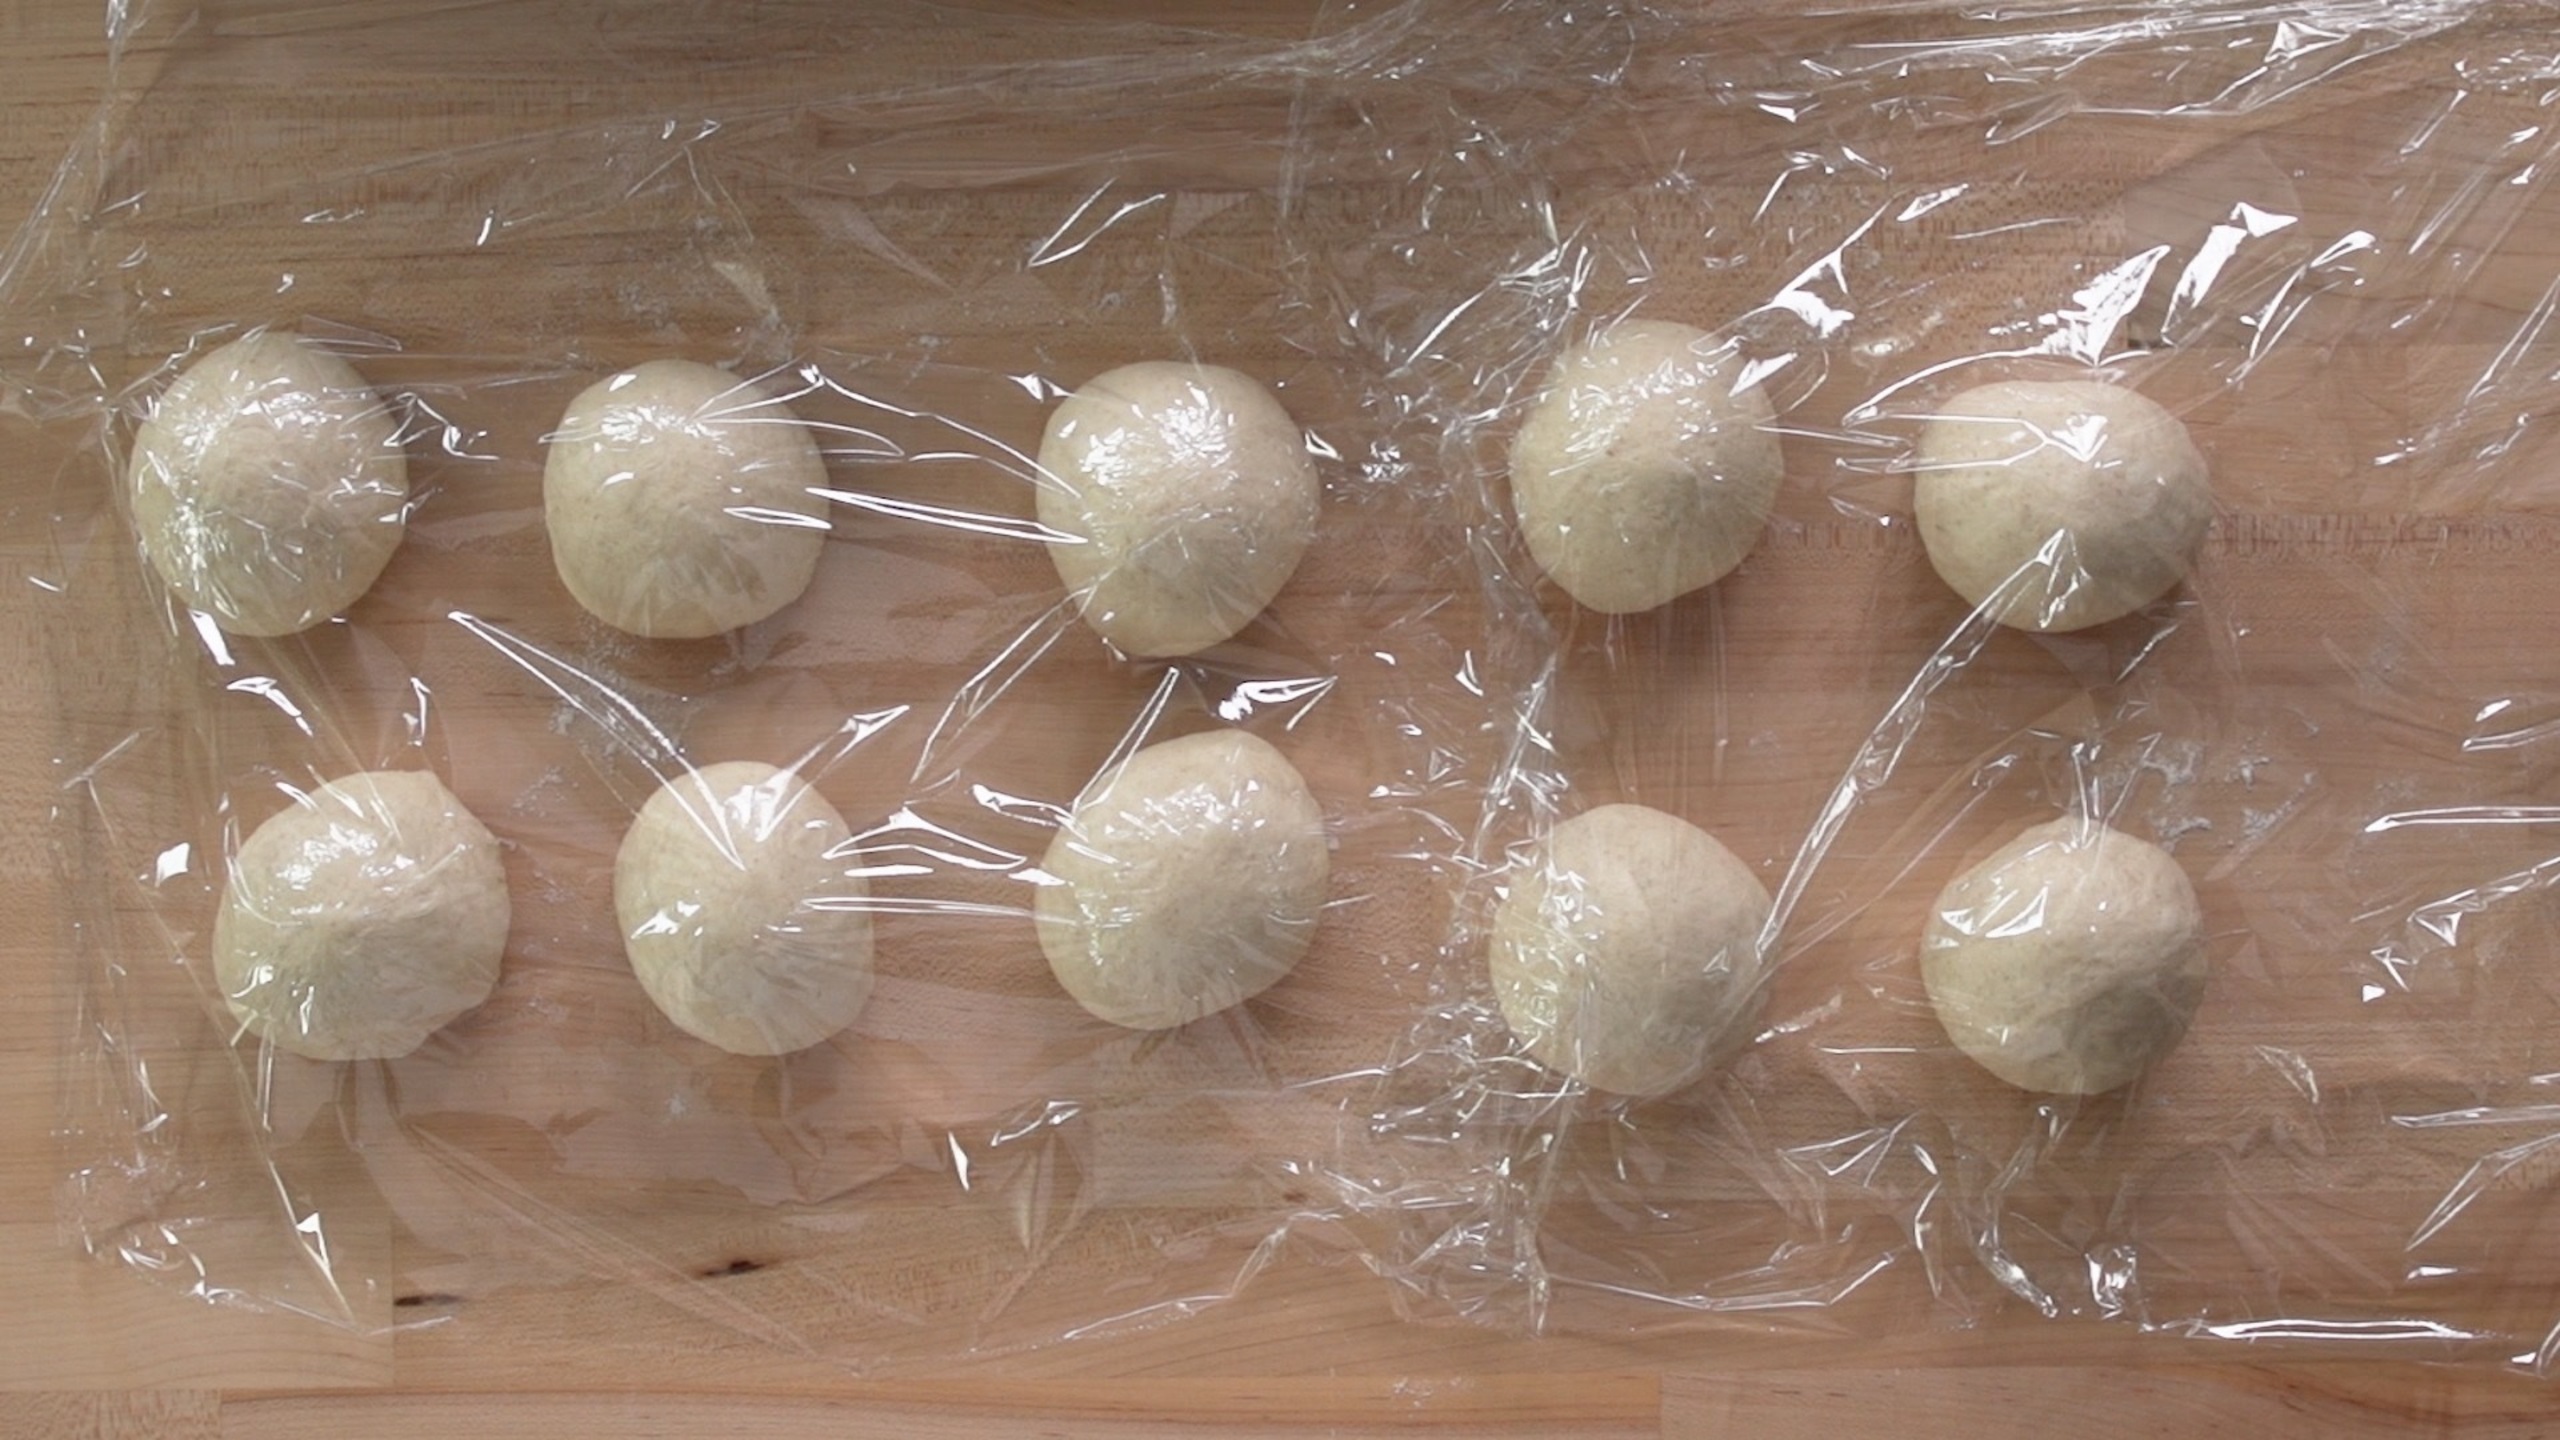
Dust the top of the dough and gently loosen the sides. Flip it onto the work surface. Dust again and flatten. Divide it into ten – 120 gram pieces.
Round each piece by cupping it with one hand until it becomes a smooth ball. Cover to the touch. Allow the dough to rest for 30 minutes at room temperature.
Prepare the proof box and set 77-80˚F (25-26˚C).
Dust the work surface.
The right amount of flour will prevent the dough from sticking to the surface. However, an excessive amount will dry out the dough’s surface and a crust will form during the proofing process.
Press the smooth side down into the flour, then flip it back over. Roll into a round about a ¼ in (6 mm) thick ensuring it is even using a rolling pin. Transfer to a couche. Place in an unheated oven, or leave at room temperature covered and away from drafts. Proof for 1 hour, 15 minutes, or until doubled in volume.
Step 4: Baking & Cooling the Pita Bread
- 75 g Water for steam
Place a baking stone on the center rack of the oven and a baking tray on the bottom rack. Preheat the oven to 480˚F (250˚C). Allow the baking stone to preheat for at least 20 minutes. Reserve a container with water nearby.
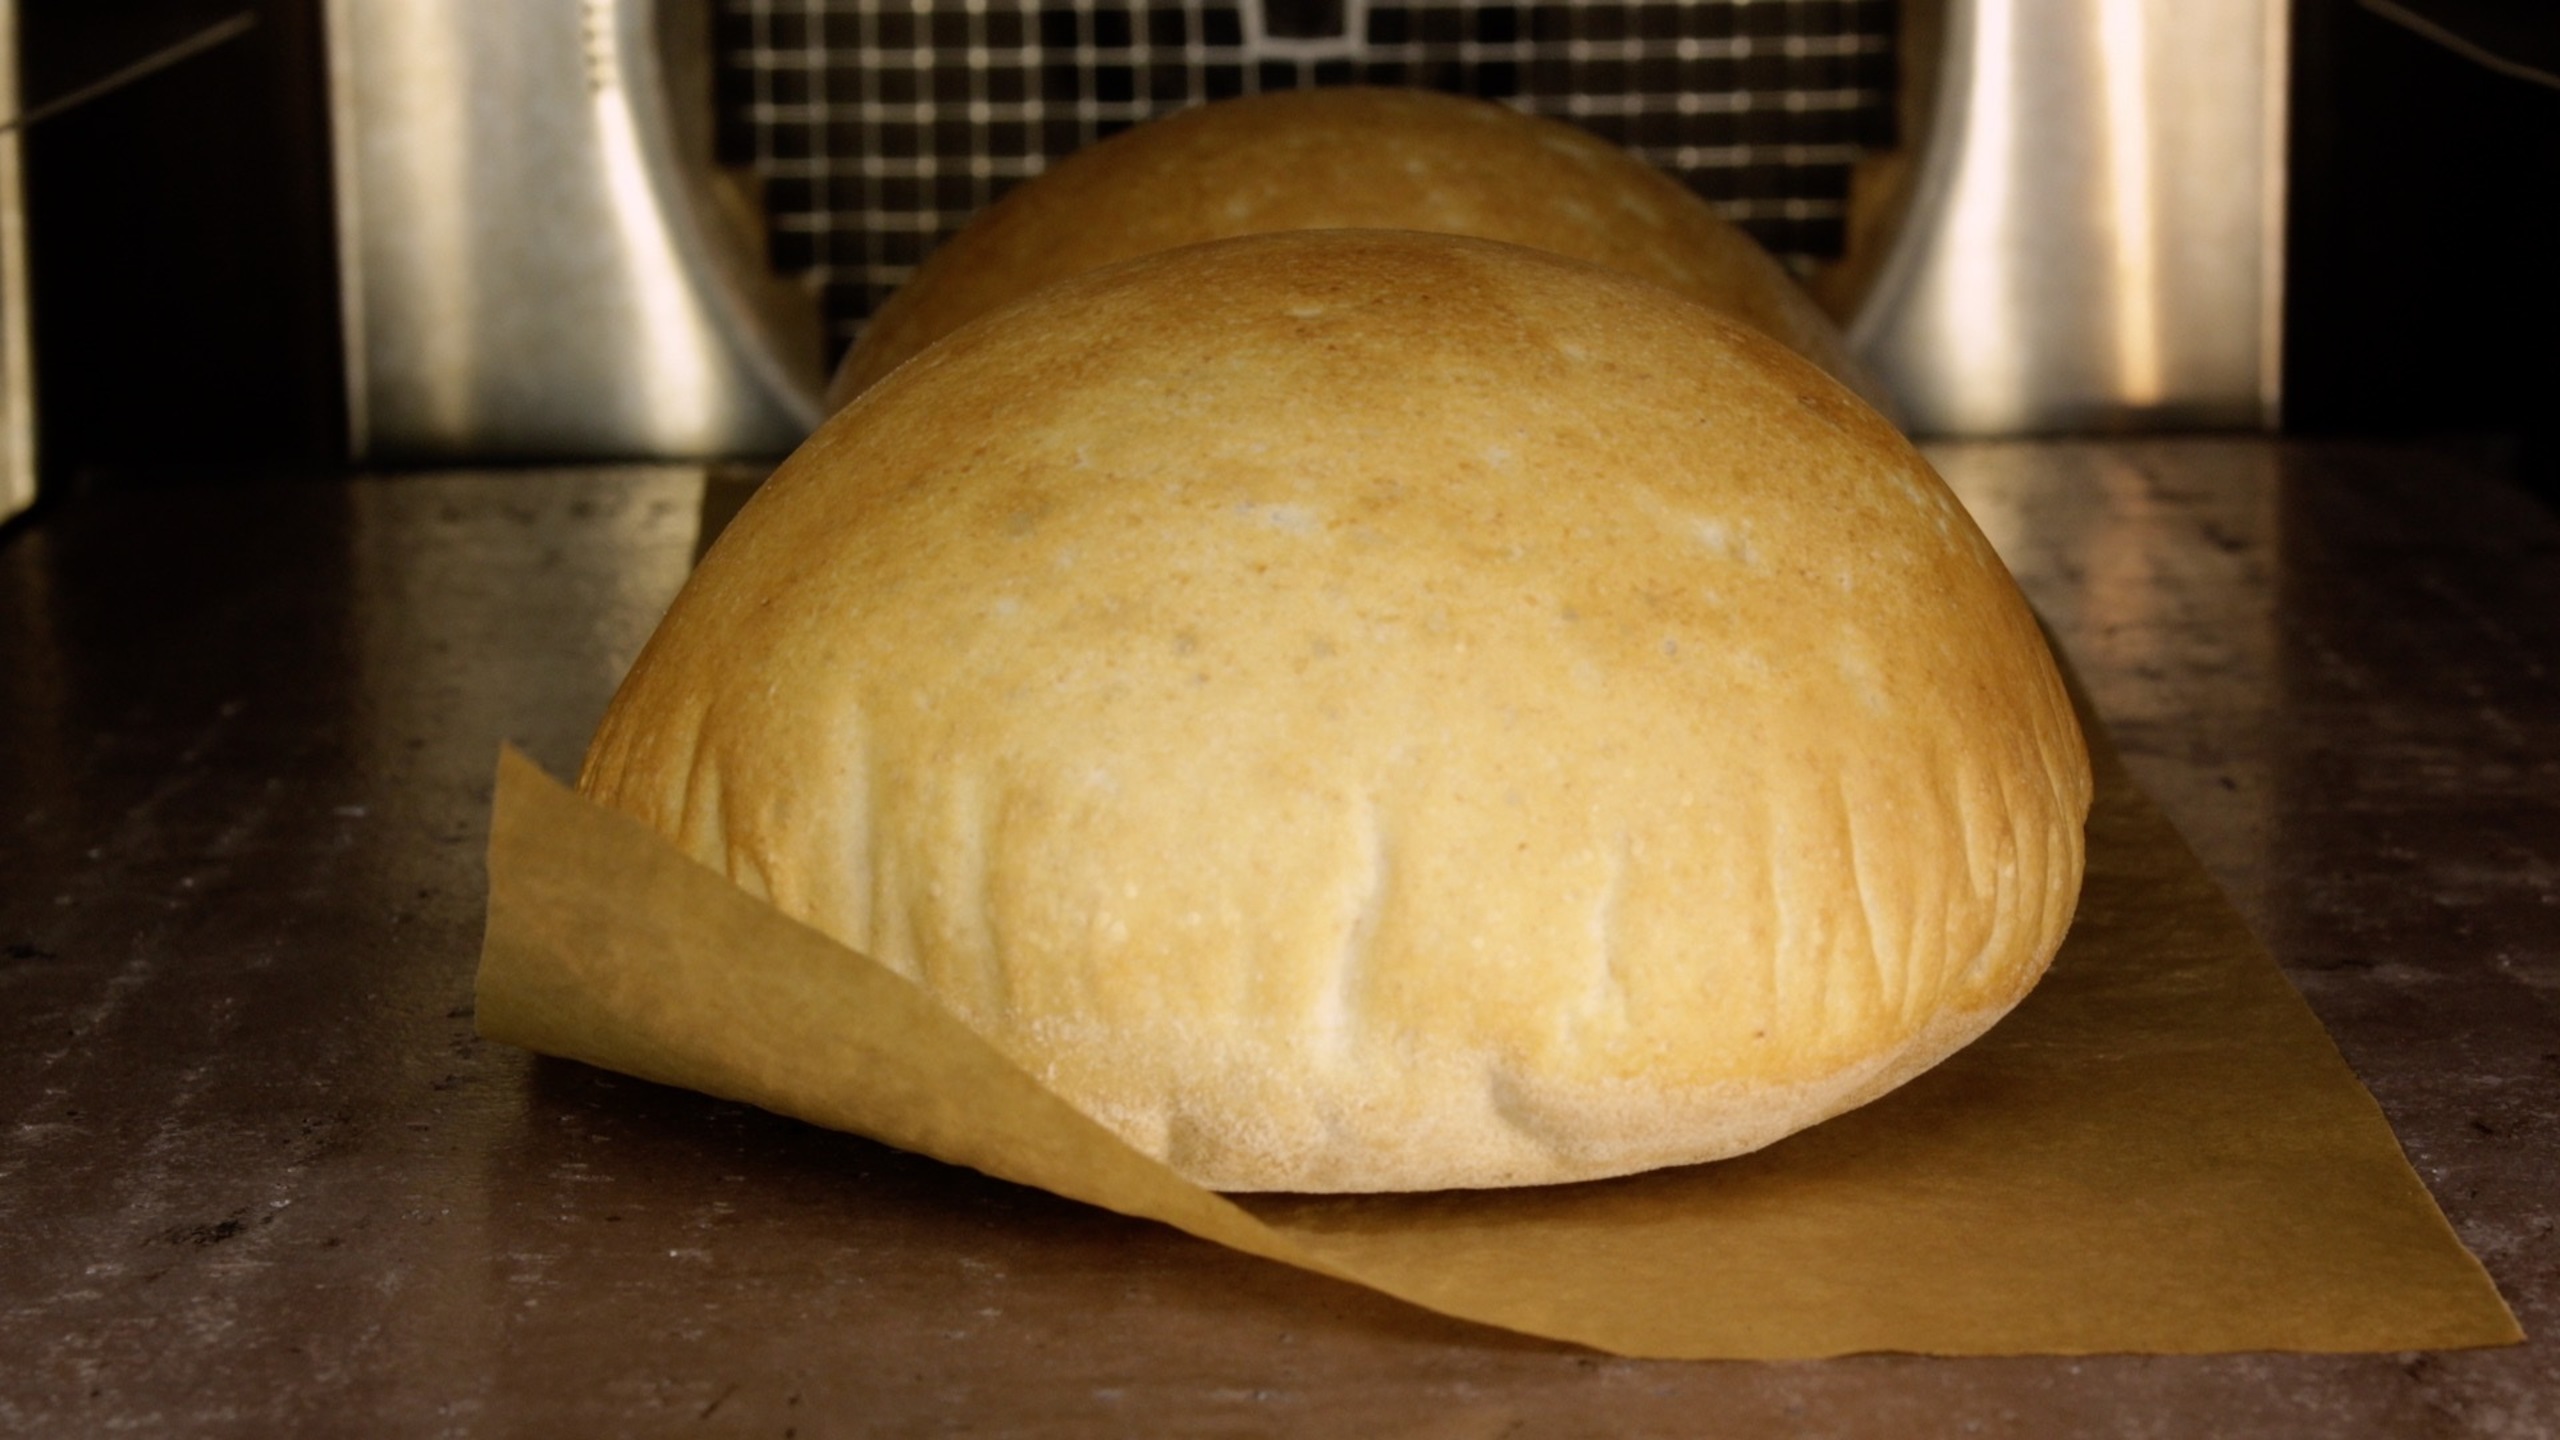
Transfer the pita on a baking tray lined with parchment paper, or directly on an oven peel. Slide the parchment onto the baking stone. Swiftly add the reserved water to the baking tray and close the oven door. Turn off the oven for 6 minutes. Now turn the oven back on and lower it to 430˚F (220˚C) for 3 minutes.
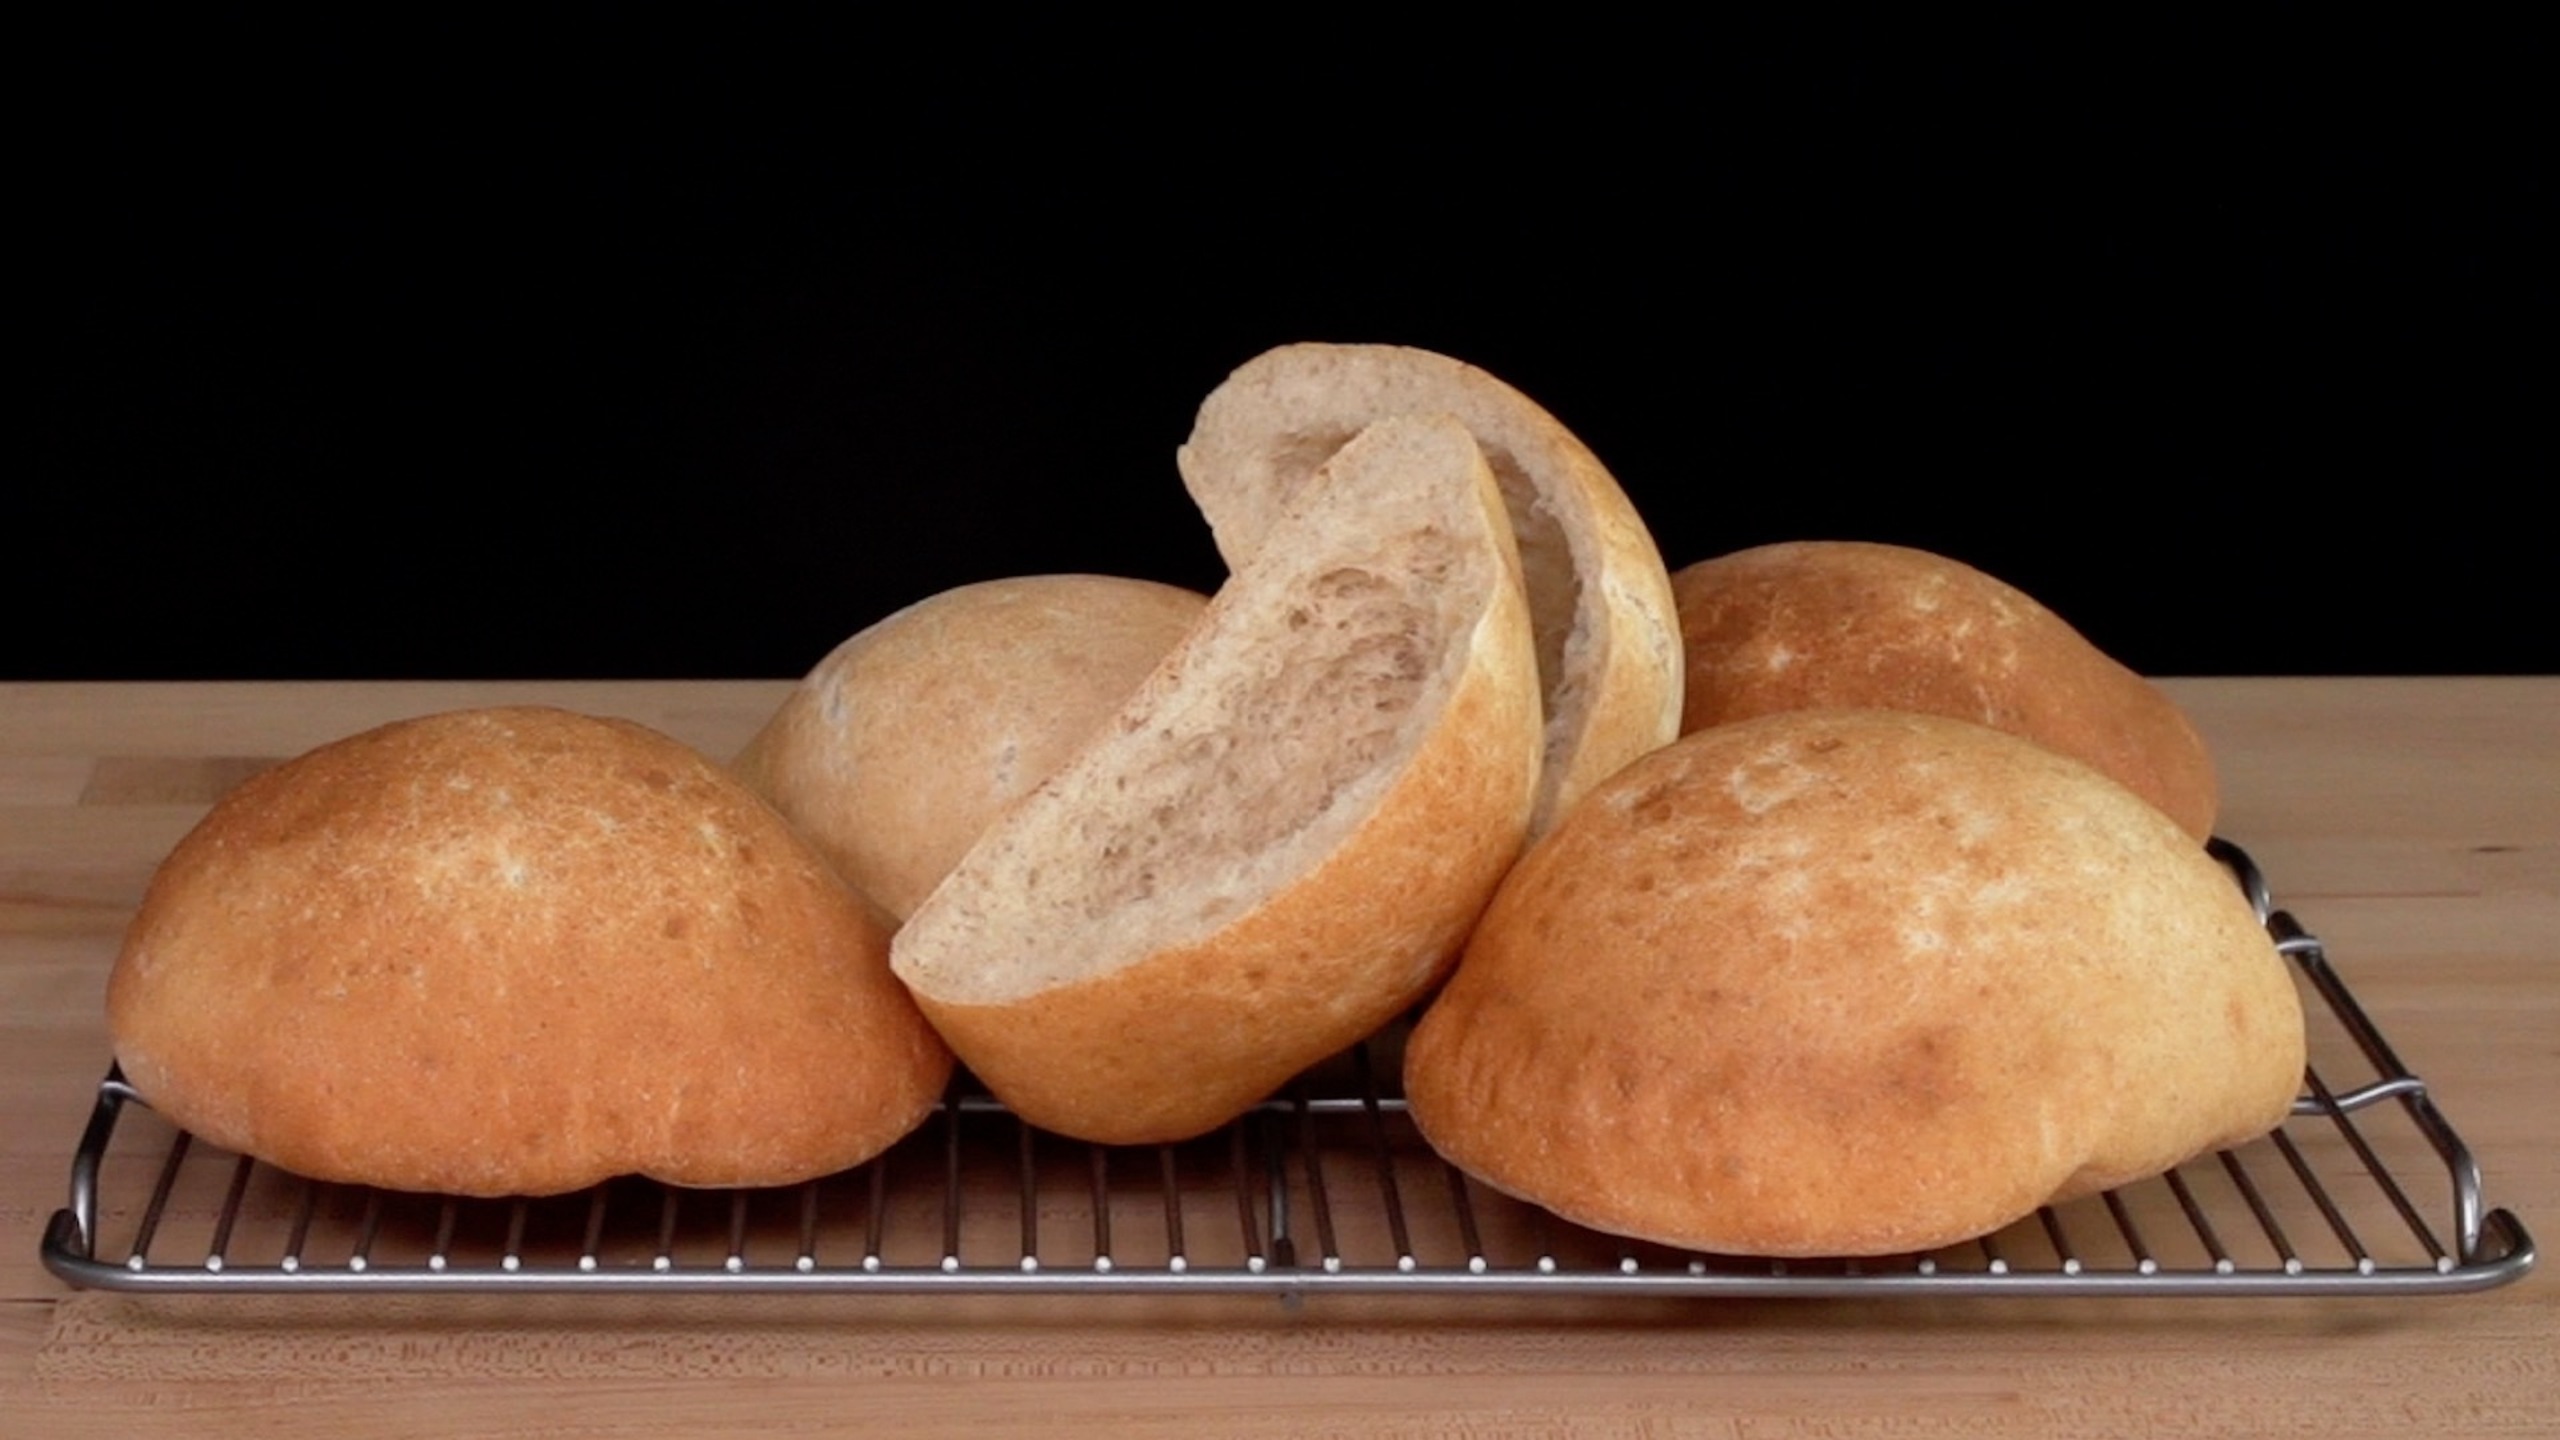
Remove the bread and place on a cooling rack.
Step 5: Storage
Storing & Shelf Life:
Pita bread dough is best freshly made. However, you can make the dough or shape the disks in advance. Refrigerate for a day, then proceed as directed. Freeze pita bread dough or the shaped pita disks wrapped in plastic for up to 1 month. To defrost, transfer the dough to the refrigerator overnight and proceed as directed.
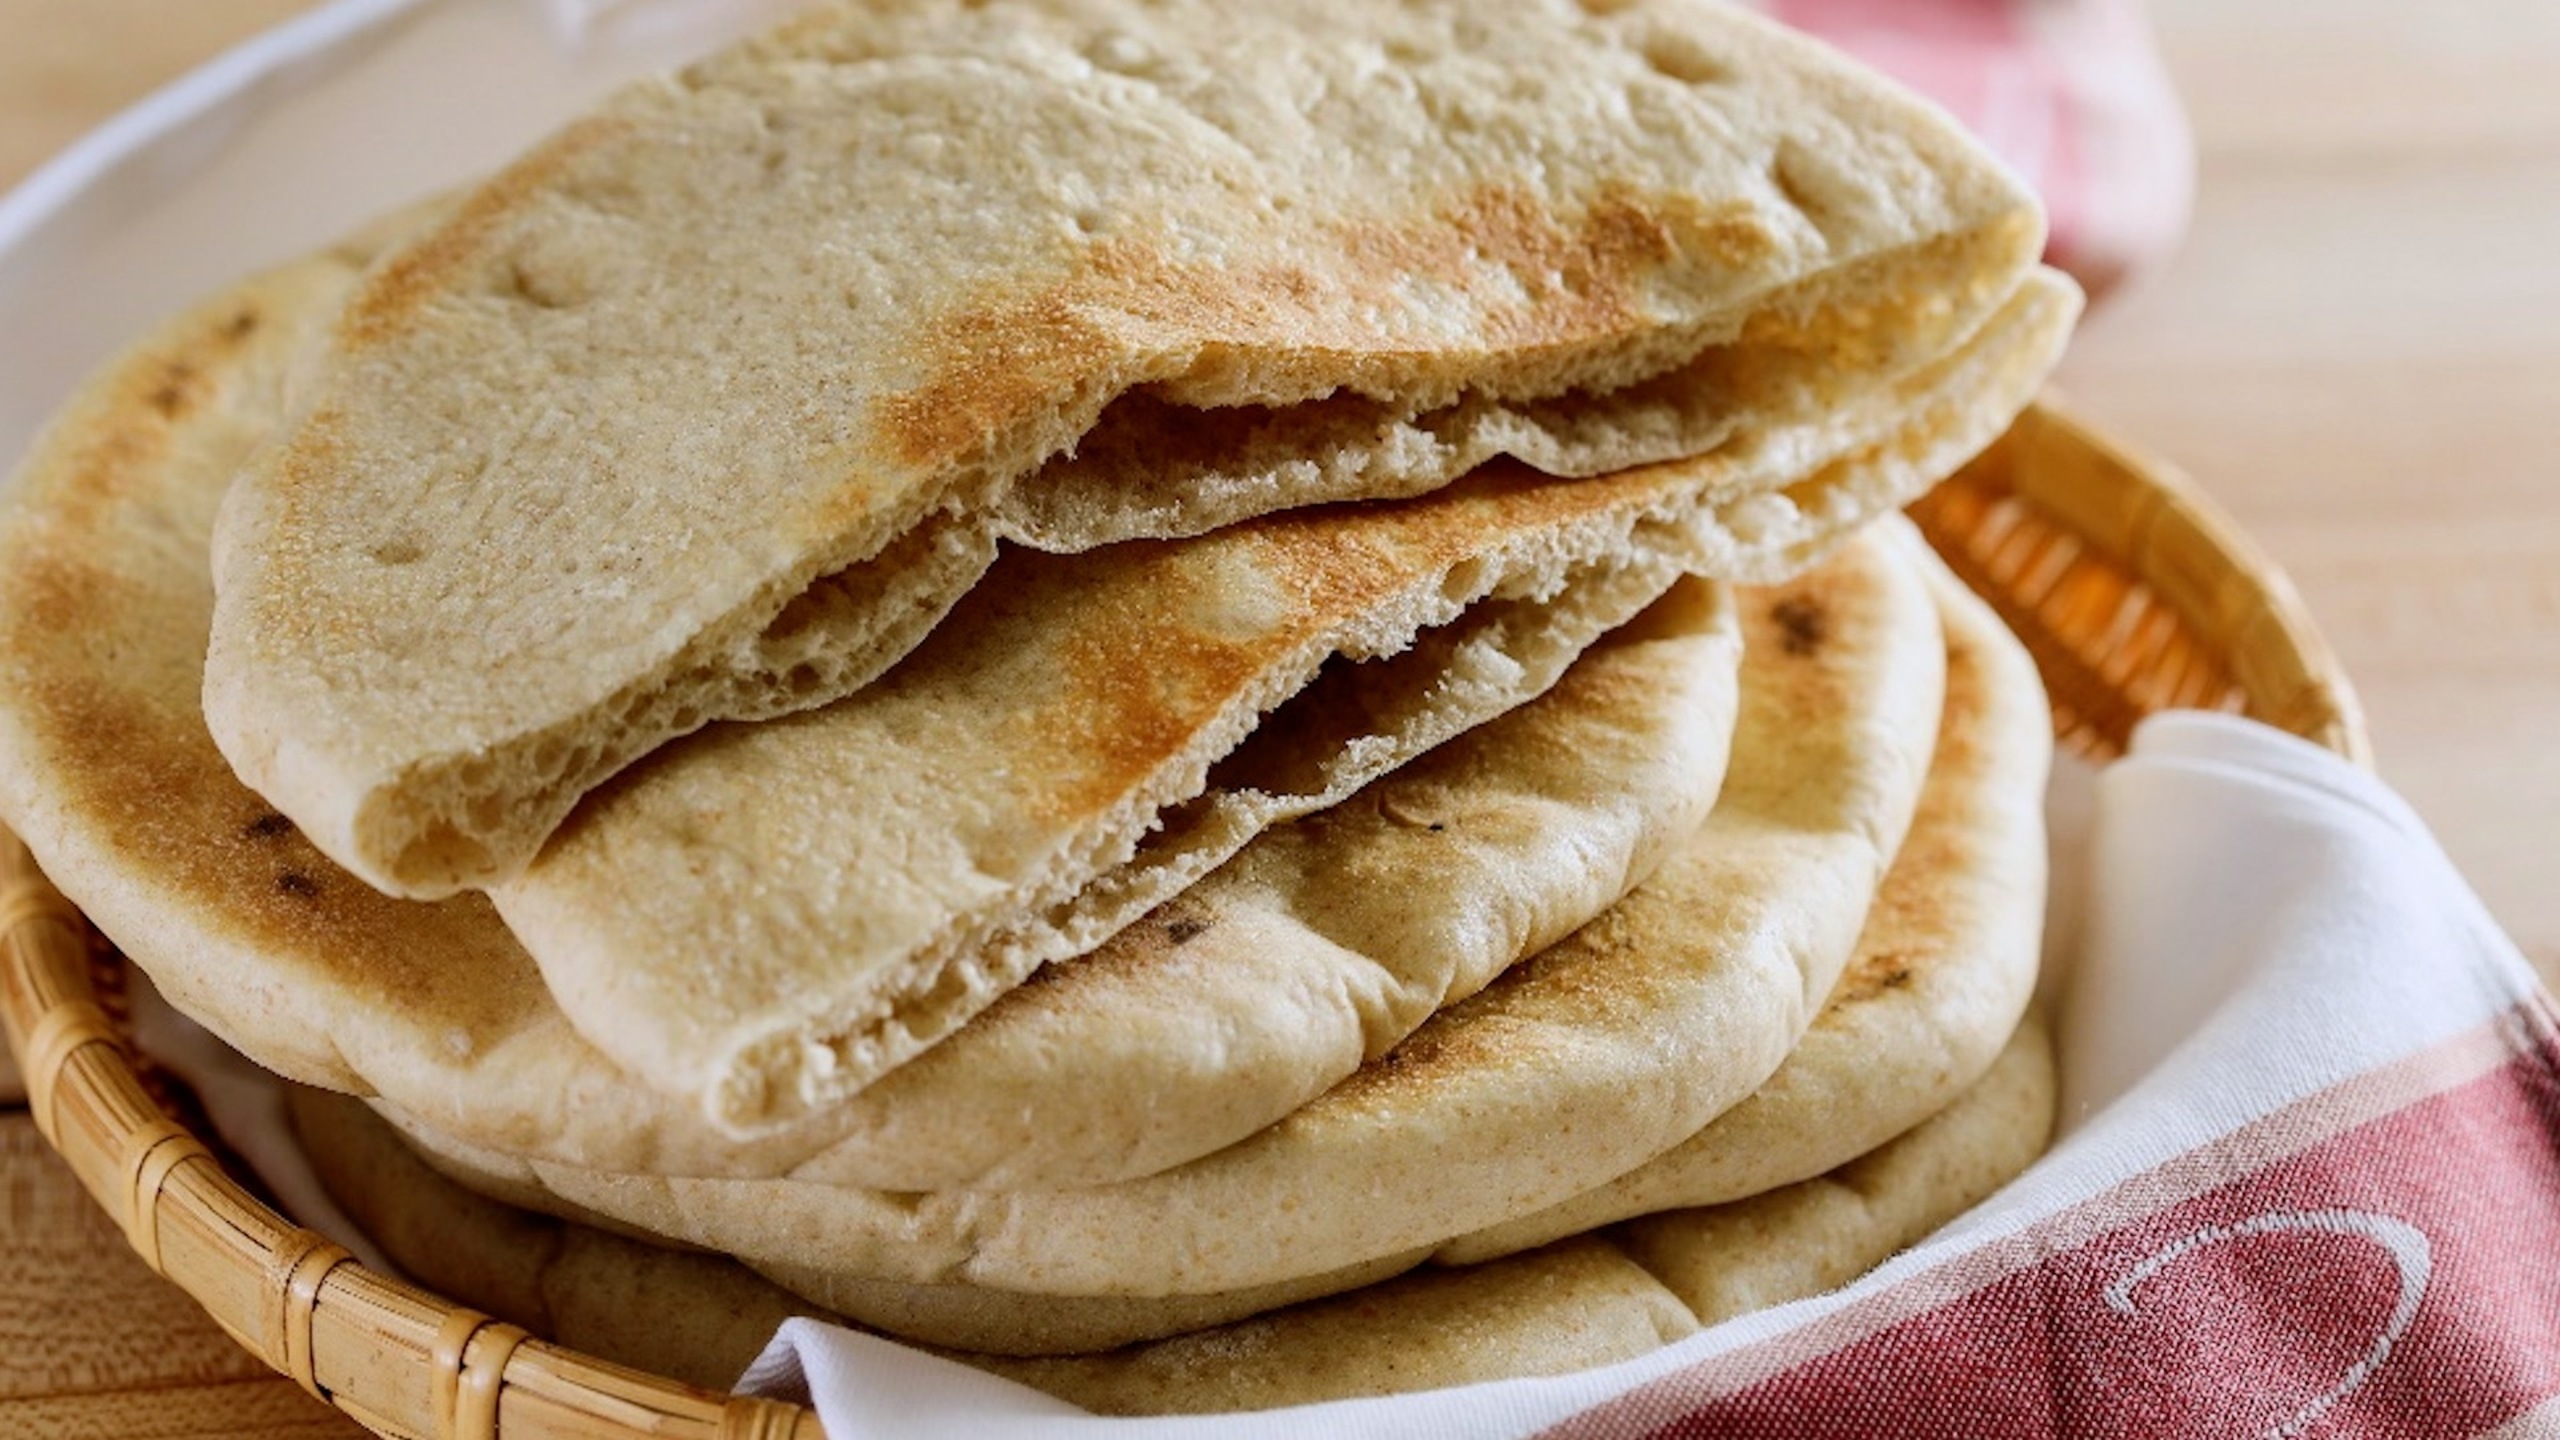
Baked Pita Bread Storage:
Bake and completely cool the pita bread. Store it in a cloth bag at room temperature for 3 to 5 days or freeze tightly wrapped in plastic for up to 1 month. To defrost, place it wrapped into the refrigerator overnight or at room temperature for 2 hours. Then unwrap and place on a baking tray. Flash bake in a preheated 400°F (200°C) oven for about 2 minutes. We typically do not refrigerate bread or it quickly becomes stale or molds.