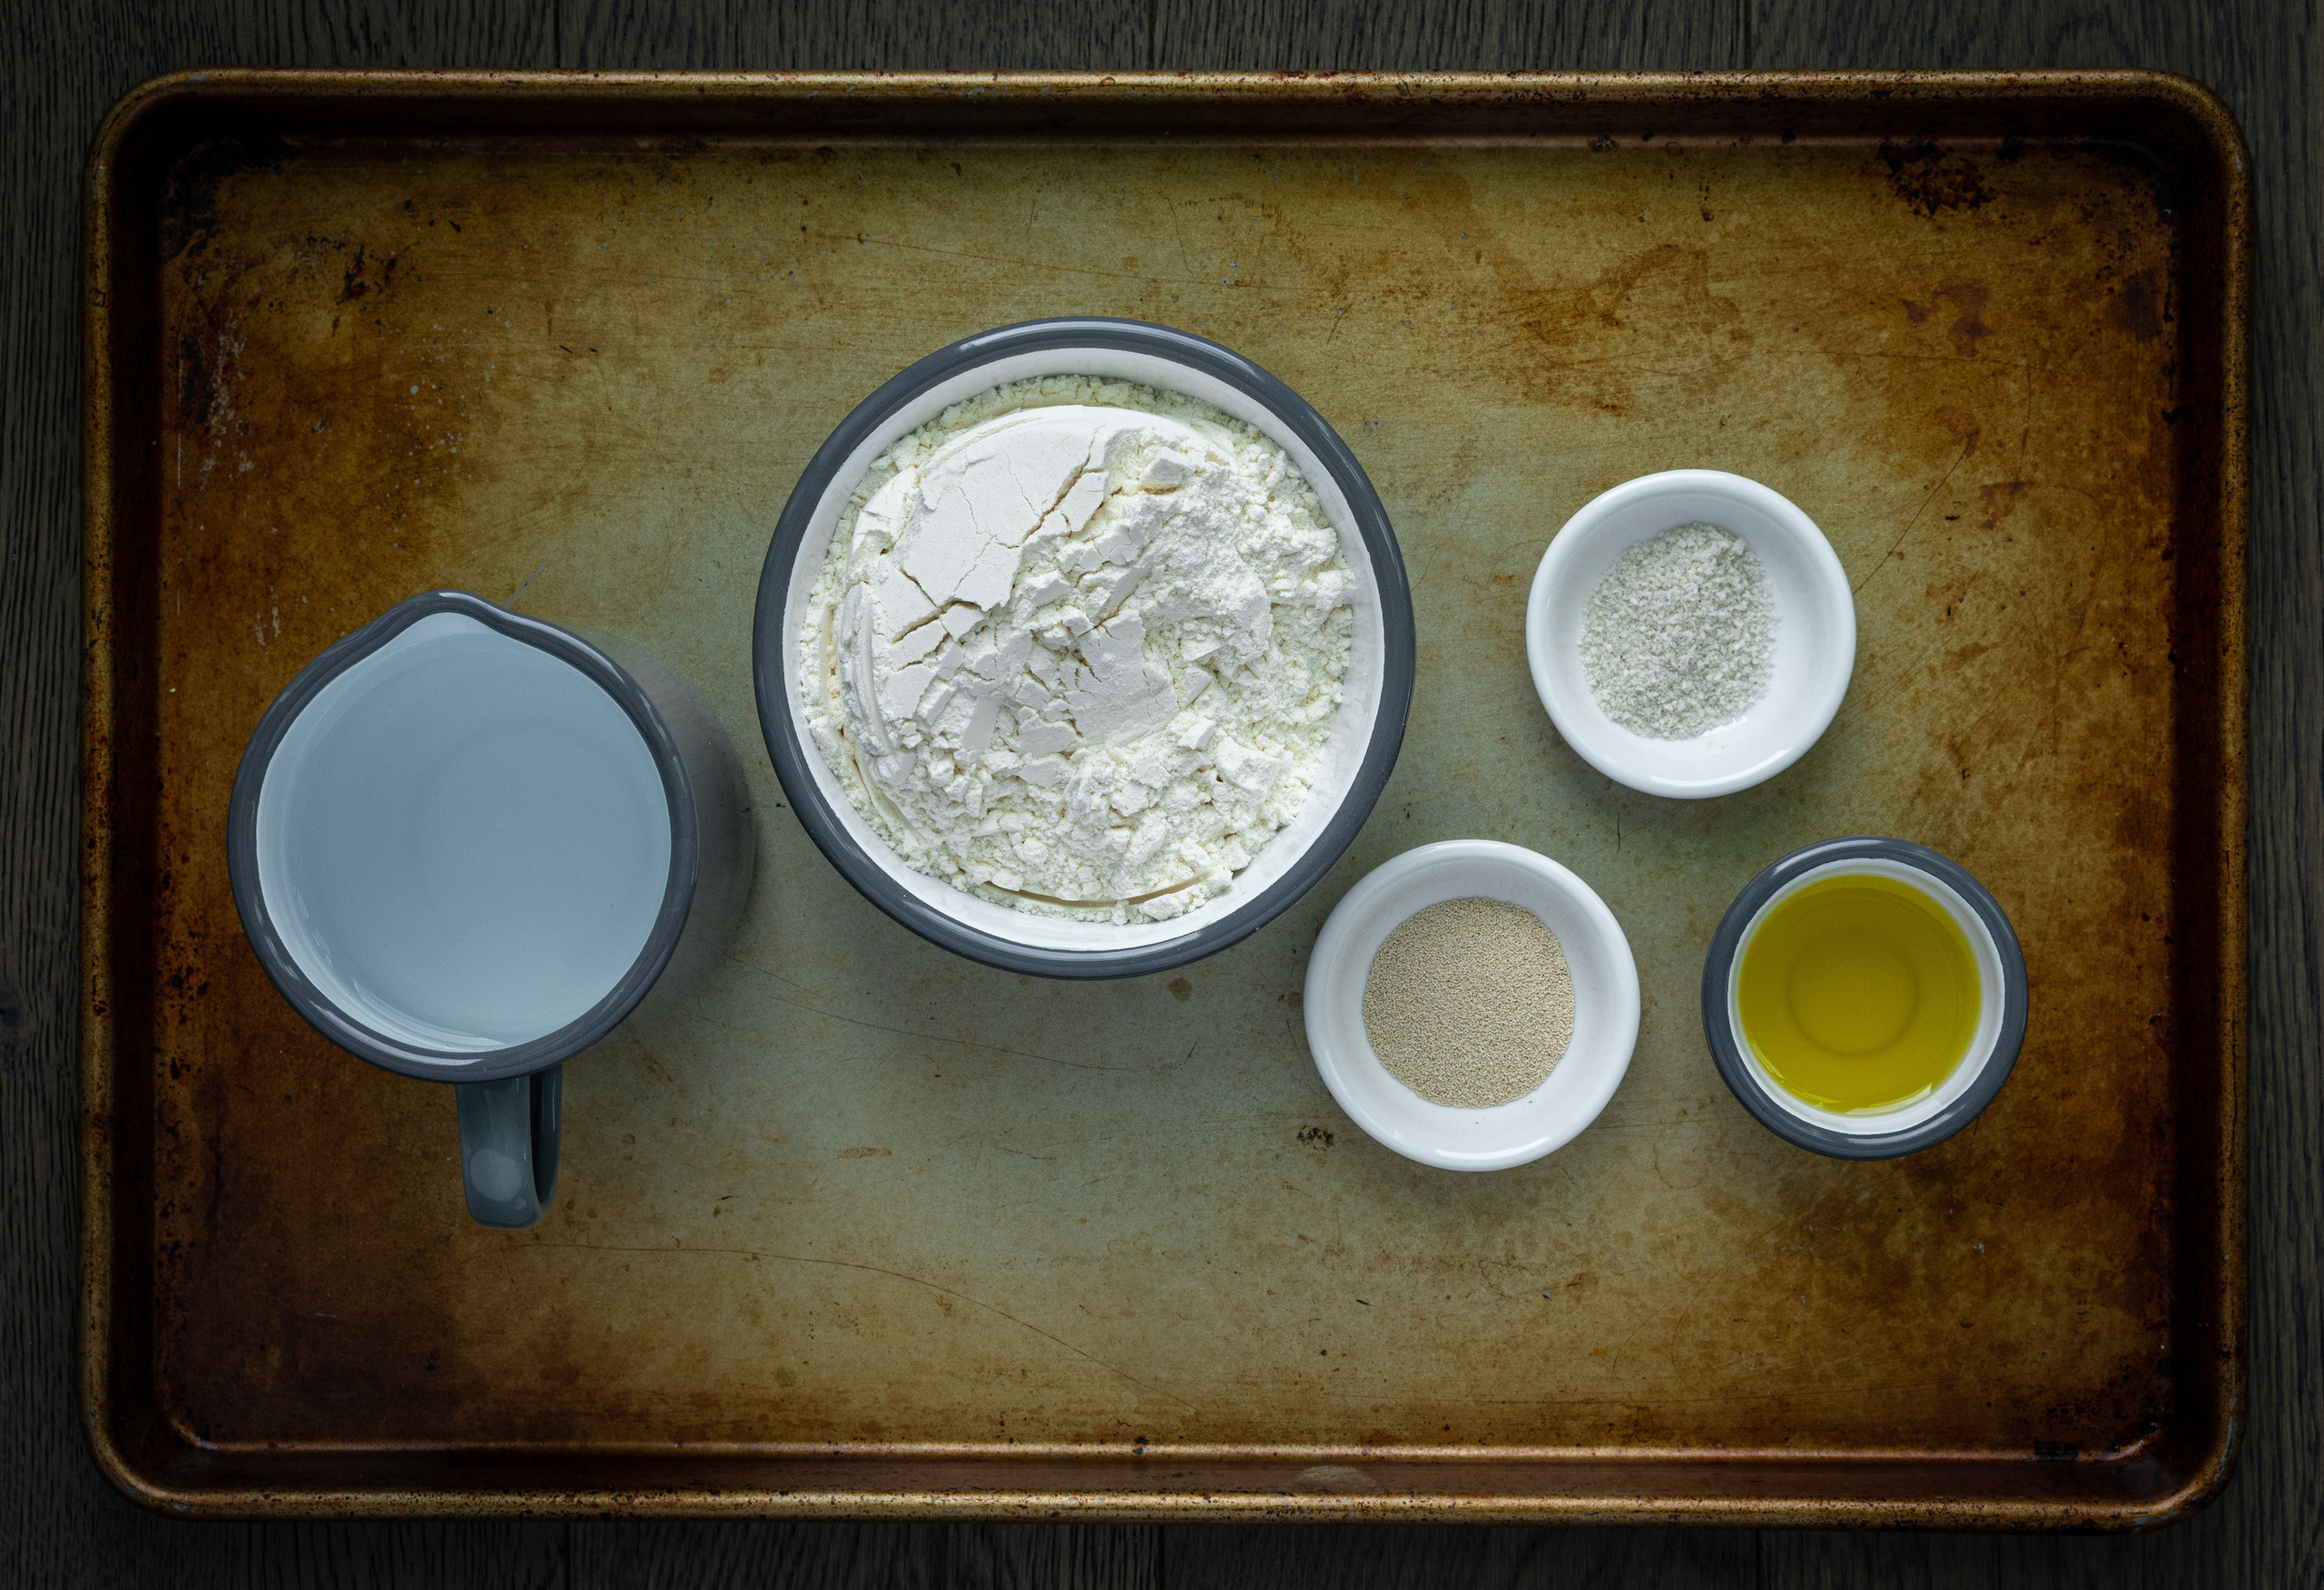
- 600g (4 1/2 cups) all-purpose flour
- 450g (2 cups) warm water
- 6g (3/4 tsp) sea salt
- 20g (2 tbsp) extra virgin olive oil
- 1/4 tsp active dry yeast (instant will also work — for fresh yeast use approx 5 g)
To prepare the dough, first measure the flour into a large bowl and then measure in the yeast. Next, using your hands or a whisk, mix the flour and yeast together and then make a well in the center. Note that it’s not absolutely necessary to measure the ingredients but it does produce make for a more consistent outcome — especially when it comes to baking.
In a separate bowl, add the water to a medium-sized bowl — the temperature of the water should be around 105°F (40°C). Add the salt and stir quickly to dissolve the salt.
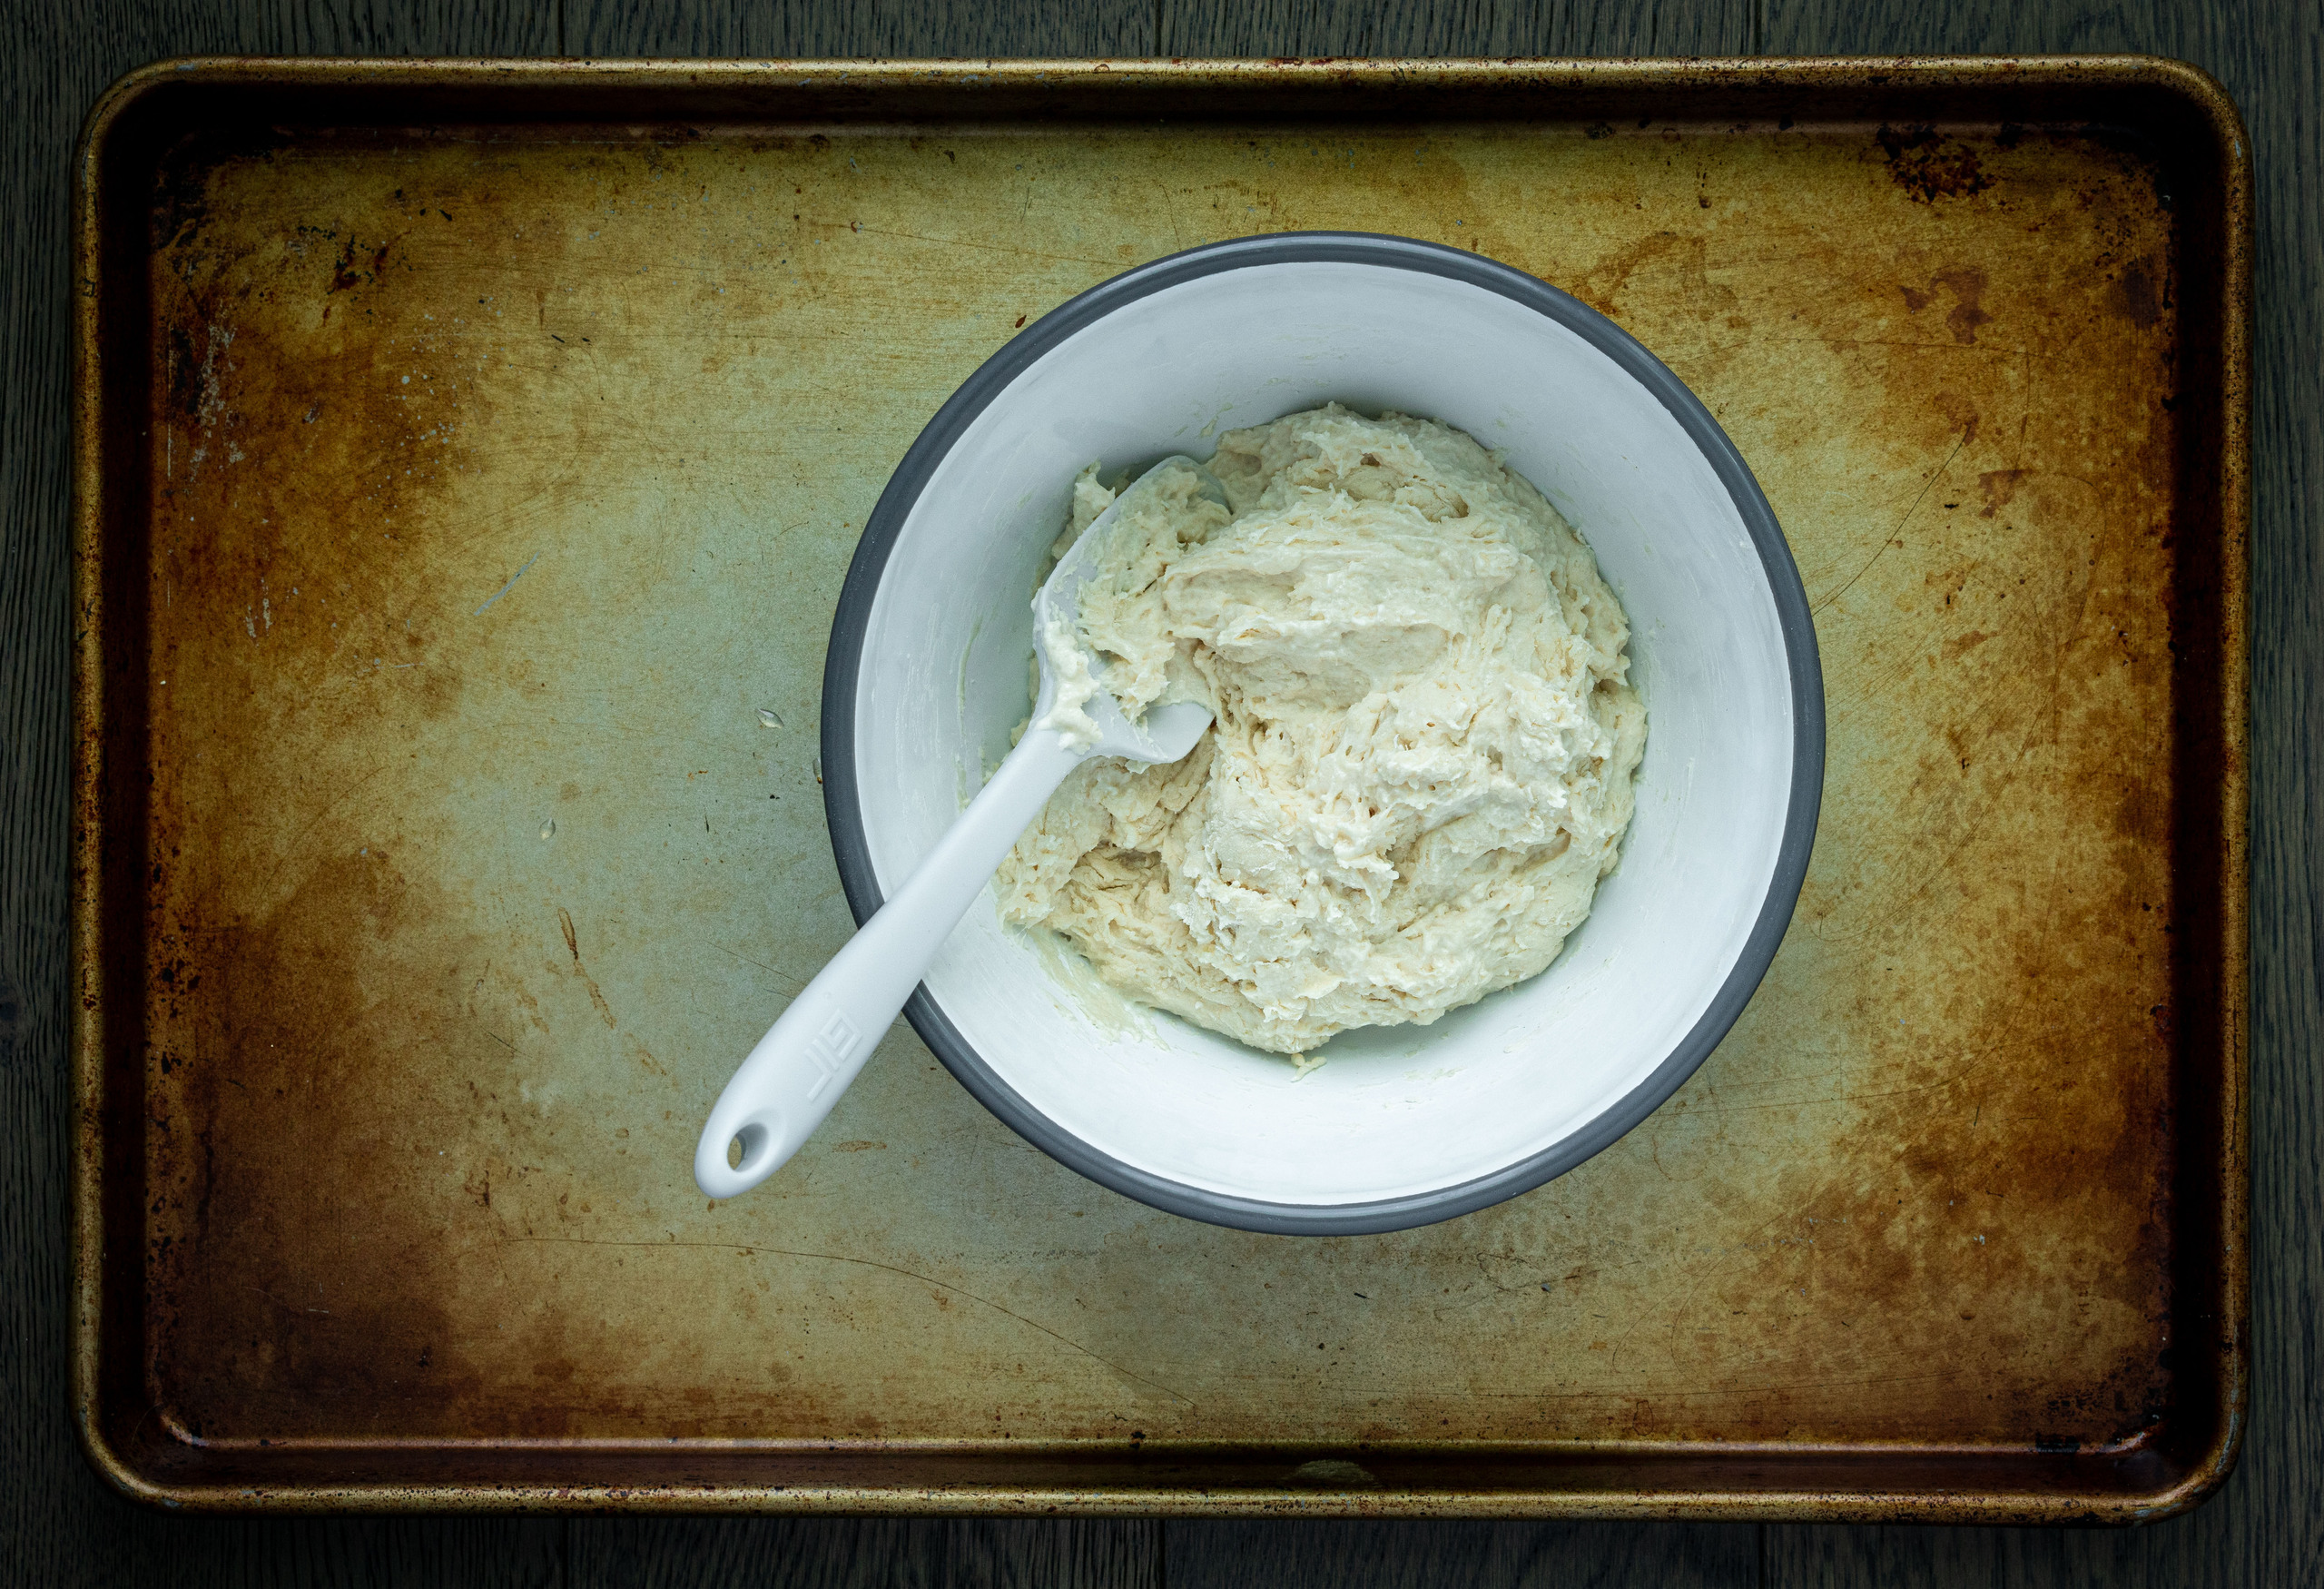
Next, add the salty water to the flour, along with the olive oil and then either using a stand mixer, a wooden spoon, or even your hand, mix the flour into the water. Continue to mix the dough together until it goes from a shaggy dough to a bit smoother of dough — this should only take a minute or so — it’s still going to feel sticky.
Next, using a pastry scraper, transfer the dough to a lightly greased medium-sized mixing bowl. Next, working in 4 sections, fold the dough up onto its self — using your fingers, pull a piece of the dough from underneath and fold it up onto the top of the dough — to form an upside-down dough ball. Next, cover the bowl with a wet towel and let it rest for 20 minutes or so. Repeat the folding 3 or 4 more times. You are essentially kneading the dough but since it’s quite a wet dough it’s hard to knead it in the traditional way.
Once the dough is smooth and has a bit of resistance when poked, it is ready for the next stage.
At this point, tightly wrap the dough with plastic wrap and refrigerate for 18 to 24 hours or until it has doubled in size. The longer fermenting time is what will give the bread even more flavor. The loner fermentation and development of the gluten will also give the dough more structure for the second rise.
- extra virgin olive oil, as needed
- flaky sea salt, such as Maldon
- fresh rosemary, roughly chopped
- Garlic Confit, roughly chopped
To prepare the bread for baking, grease a 9 × 13″ pan with a tablespoon or so of olive oil. Note that 2 smaller pans would also work for this recipe.
Next, using a pastry scraper, transfer the dough to the greased pan. Next, using your fingers, gently press and stretch the dough to fill the pan. Don’t be too rough with the dough if it doesn’t want to fill the pan, it might just be a bit too cold — simply cover the pan and leave it for 10 minutes or so and then try again. If you find the dough sticking to your fingers, wet them slightly and continue.
Once done, cover the pan with a damp towel or plastic wrap and place it into the oven with the light on. The ideal temperature for the second proof is about 90°F (32°C). This second proof makes for a better end result as it allows the gluten to stretch out and trap more gases, which keeps the dough from collapsing during the second rise, which will ultimately make for fluffier focaccia.
After about 1 hour, remove the dough from the oven and uncover it — the dough should have almost, but not quite, doubled in height.
Next, place a small bowl of water next to the pan and then dip your fingers into the bowl and then press the dough with your fingertips to create little pockets or dimples in the dough. Don’t worry about being too rough, press your fingers right down into the bottom of the pan — moistening your fingers as you go to ensure your fingers don’t stick and pull the dough. Note that you are not looking to deflate the air bubbles and height of the dough, you are just looking to create those deep dimples that focaccia is known for.
Next, cover the dough up again and allow to proof a second time in the oven (with only the light on) for another 45 minutes to an hour. Note: You will also need to start thinking about preheating your oven to 450°F (230°C).
When ready to bake the dough should have risen and filled the pan to at least half or two-thirds of the pan height. You should also see visible bubbles in the dough and the dough should move a bit when you shake the pan.
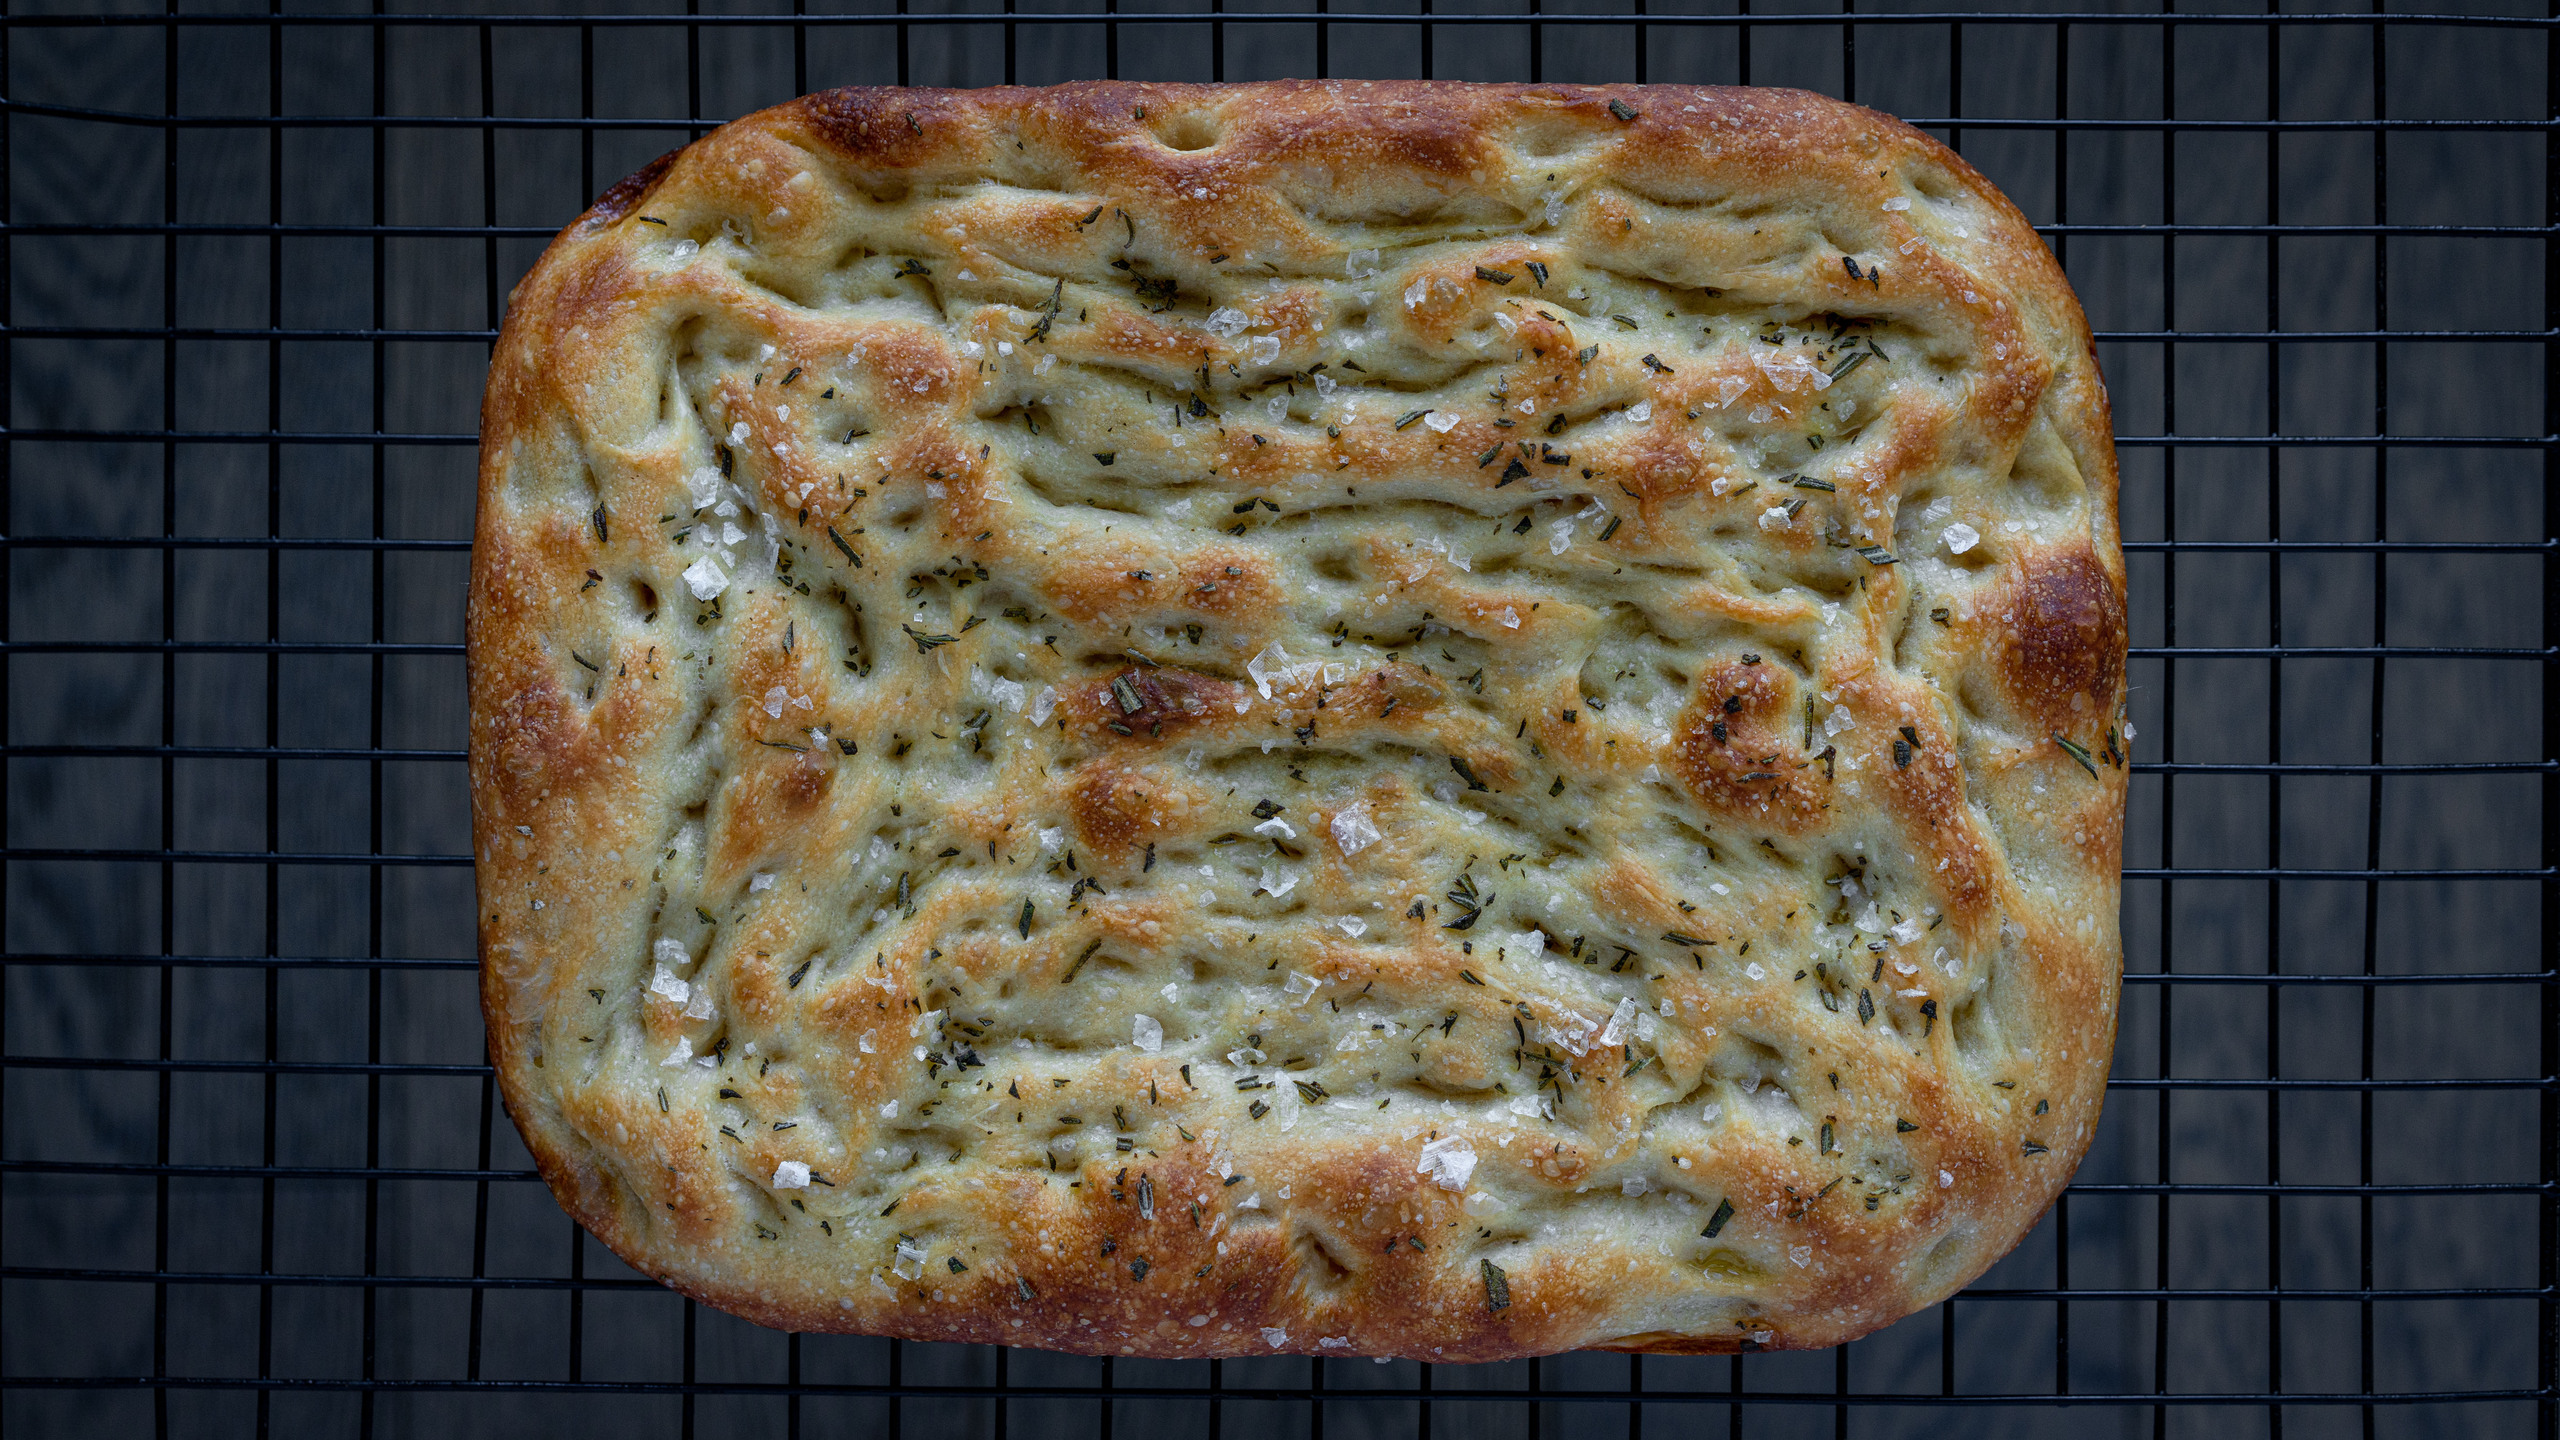
To top the focaccia, you can either keep the toppings simple and just add a bit of flakey salt and drizzle the top with a tablespoon or so of olive oil or you can top it with some fresh herbs, such as rosemary. The toppings are really up to you, we like really like to add Garlic Confit but olives and/or sun-dried tomatoes would also be nice.
To bake the focaccia, place it into the preheated oven for 15 to 20 minutes. When done, the top should be golden and the internal temperature should be approximately 190°F (87°C).
Next, carefully remove the bread from the pan using a spatula or lifter and place it onto a cooling rack and allow to cool for a few minutes before cutting it. While the focaccia is still hot, drizzle it with a bit more olive oil.
When ready, slice and serve as is or serve with a balsamic and olive oil dipping sauce.
The recipe can be cut in half but since the bread freezes well, we generally do the full recipe. To freeze the bread, allow it to cool completely, then transfer to a ziplock bag and freeze. To serve the bread, allow it to thaw and enjoy at room temperature or preferably warm it for 10 minutes in a 350˚F oven.